Hi guys! I know I have not been posting as much lately. October is such a busy month for me! It seems October-December are always a blur of events and celebrations. Small town festivals, birthdays, and weddings...the list never ends! I am actually pretty relieved that this weekend should be relatively calm. I promise I am going to keep writing, but it may not be as often as the three times a week posts I was pumping out in the past. But hey, quality not quantity, right?!
Last weekend I turned 24. Sorry...that still looks weird to type! 24!! I'm sure most of you are rolling your eyes at me right now. "Twenty-four is still so young!" Well, I'm sure it is but I remember when I was 16 what 24 looked like. It looked like marriage and a super important business job. It looked like a house and a baby and two dogs, maybe a cat and so much more. Now, I'm not saying there is anything wrong with that at all, but let me just say that I am SO happy that 24 turned out to be a whole lot simpler than that. I am grateful to have completed college, landed a job with a company I love, solidified true friendships, met a great guy, and become a (for the most part) independent adult.
I am a serious planner. I love a detailed, fully planned and researched schedule. I don't like not knowing what to wear or expect or how much time I have to do something. So I always overwhelm myself with trying to plan out every detail of my birthday. I try to include as many of my friends or loved ones as possible. And with a huge family and spread out friend group that I feel should all be included, it ends up being a complete mess. So this year I decided I was not going to plan a single thing. And you know what? It ended up being the absolute best birthday I've had in a while. Of course there are plenty of people I would of loved to see, but we are adults now with busy lives and I know that they were still thinking of me. I was blown away by all the thoughtful gestures and calls and messages I received. My boyfriend played a huge part in my weekend. He planned out the entire weekend and truly has paid so much attention to my interests. Y'ALL. HE TOOK ME TO A SUCCULENT SHOP. But I won't drag on anymore, the main reason for this post was I wanted to highlight two of my favorite parts from the weekend. Not only because I enjoyed them so much, but because they are local, Texas businesses I've had my eye on a long time and I can finally attest to how great they really are.
2Tarts Bakery
I stumbled upon
2Tarts Bakery on Instagram and was instantly in love with their cakes. I thought no way that this place was close by, these are the type of cakes you see on Pinterest and drool over. But to my great pleasure they are located right in New Braunfels. I've wanted to visit their bakery for at least two years but I seem to always be passing through New Braunfels instead of stopping in. I casually mentioned to my boyfriend, Wilson, one day months ago that the onlyyyy thing I really wanted for my birthday was a cake from 2Tarts. I'm pretty sure he gave a "yeah" response and I knew he had no clue what I had just said. Uhhh wrong, he surprised me with a cake from there covered in CACTUS AND SUCCULENTS. Obsessed is an understatement, this thing was adorable! The appearance of the cake honestly needs no further comment. The pictures say it all, and even those don't completely do it justice. As far as taste, it was a red velvet cake with cream cheese and buttercream icing. Yuuuuuuuummmmy. It was super rich, but so delicious! I will definitely be visiting the actual bakery soon for a cupcake or treat. Check out their Instagram to see all of their amazing cakes, you may just seen mine as well. :)


East Austin Succulents
The first place we went on Saturday was
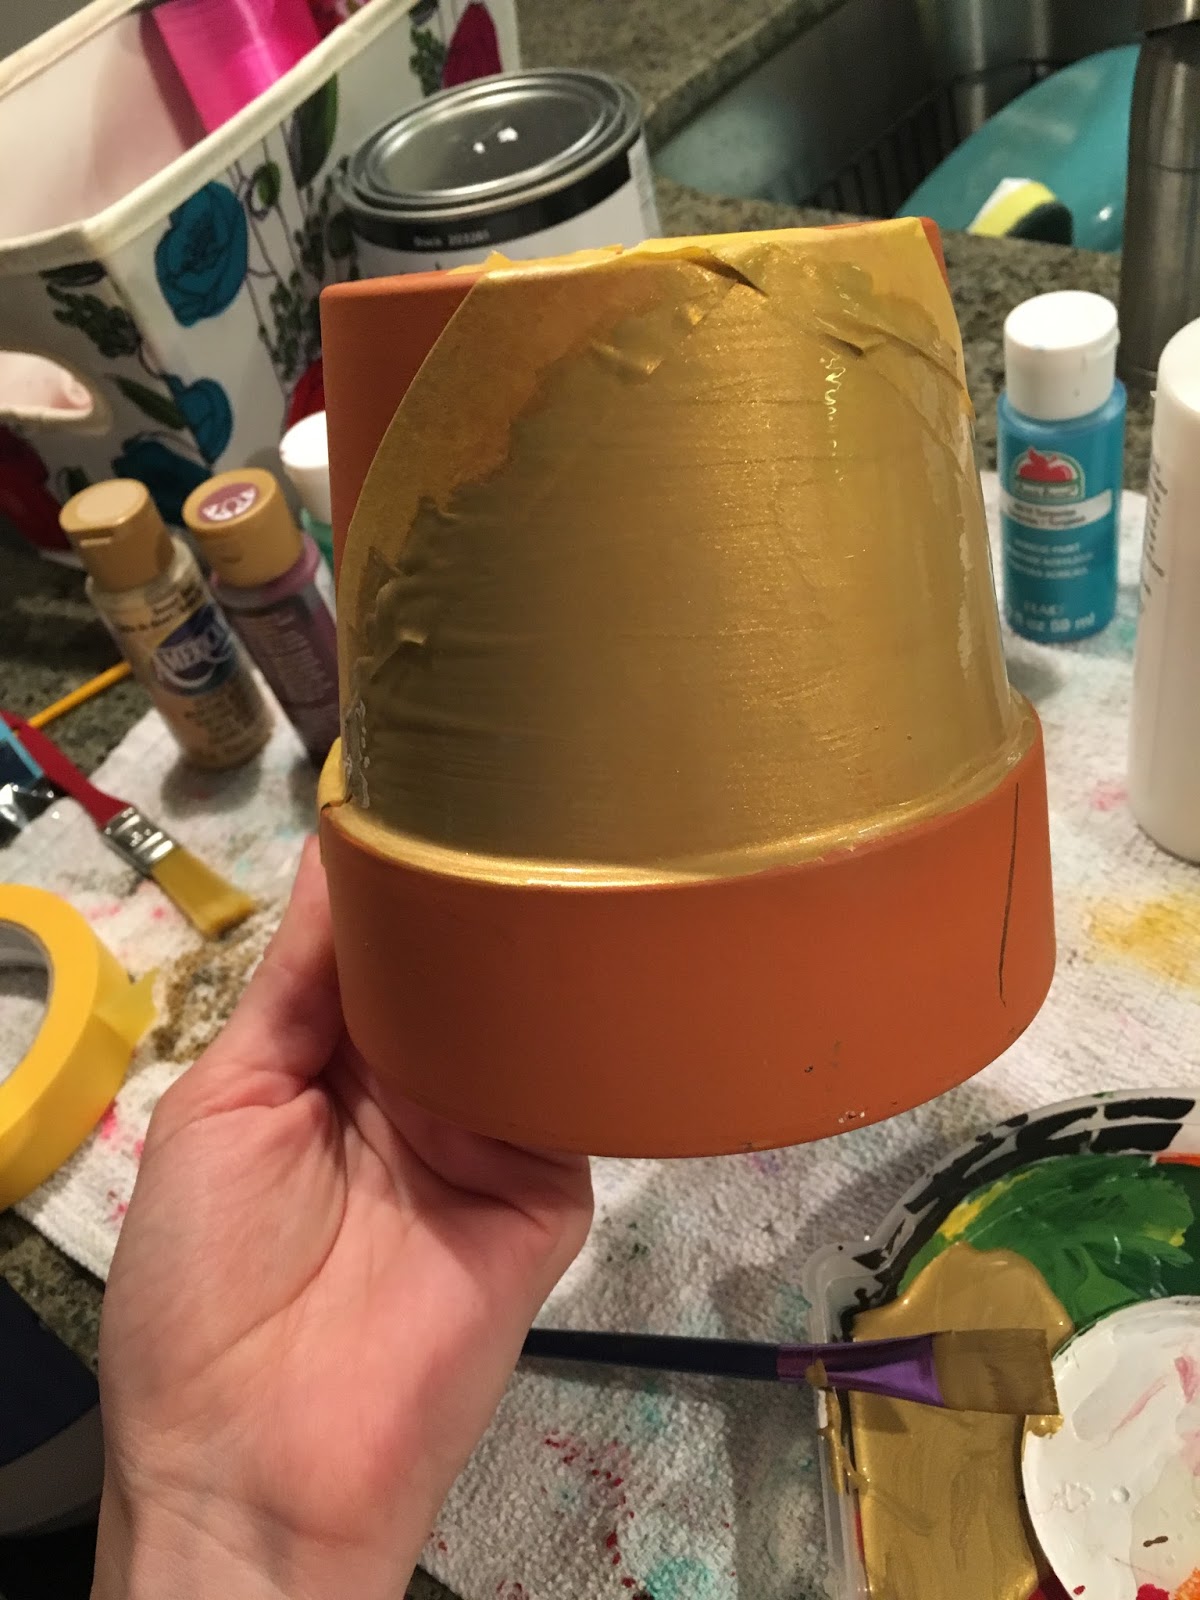
East Austin Succulents in Austin.This was another place I have been dreaming of visiting for a long time. I wasn't sure how big it would be or how pricey, but my expectations were blown out of the water. It's not exactly in the nicest area, so female friends I would not visit alone. Of course at the store itself I felt completely safe, but the surrounding area was a different story. East Austin Succulents is actually conjoined with another plant shop, which I did not realize, but you can walk around the two altogether. Think TJ Max and Homegoods, lol. There are gorgeous pre-made arrangements, 2 inch plants, plants bigger than me, rows and rows of anything your heart desires. They had the neatest collection of rare grafted plants. Now the grafted plants were a bit pricey due to their novelty but with regular succulents and cacti you could get 6 plants for only $10! They also sell containers of every shape, size, color, material and design you could ever think of if you want them to make an arrangement for you. I chose a gold and white striped ceramic container that was so pretty. Next time I will bring my own! Then I picked out six little guys and they potted and arranged them quickly with expertise. They used kitchen and medical tongs to grab the cacti and I am so bewildered that I never thought about using something like that before! They had plants growing out of everything too! I posted a lot of pictures but one I forgot to take was plants coming out the bottom of a water fountain! The employees were so friendly and knowledgable. I will definitely be visiting again. OH, and if you spend over $40 you get to spin a giant wheel to win something. I got a free plant that ended up really pulling together my arrangement. It was the little spikey guy in the middle! And they added a pretty crystal. If you love plants as much as me you must go! It was heaven and I wish there was something similar to it in San Antonio!


I hope everyone has an excellent weekend! Let me know what your favorite little places are! Thanks for reading, and don't forget to subscribe!
XXXX
Lindsey


 And then you're done! Your pumpkins are now clean and shiny and ready to be put to use. I use mine as a centerpiece for my living room table and as random decor around the house. If you follow me, you have probably noticed I have been on a chalkboard paint kick. I picked up this chicken wire/chalkboard hanger at the Round Top Antique Fair last year. It has been loaded down with pictures and memories but I never got around to writing or drawing anything on the chalkboard side. Here's what I ended up doing! I'm pretty pleased with how it came out. I hope you found this post useful and happy fall y'all!

